Python GUI Cookbook —— 创建 GUI 窗体并添加 Widgets
开发我们的第一个 Python GUI 程序
创建第一个 Python GUI 程序
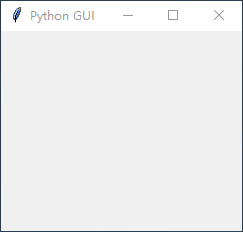
使用 Python 内置的 tkinter 模块,仅需 4 行代码就能创建一个 GUI。
下面是代码:
1 | #!/usr/bin/env python3 |
防止窗口大小被调整
使用 tkinter 创建的 GUI 默认是能够调整大小的,但有时候我们希望窗体保持特定的大小,因此需要学习如何防止用户调整 GUI 大小。
1 | #!/usr/bin/env python3 |

在窗体中添加 label
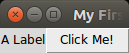
label 是一种简单的 widget,它能够向窗体中添加值(value),能够解释其他 widgets 的目的,提供额外的信息。
1 | #!/usr/bin/env python3 |

这里我们从 tkinter 包导入了一个独立模块 ttk。ttk 模块有一些高级 widgets 能够让我们的 GUI 看起来更好看。ttk 代表 themed tk。
- 在这个实例中我们使用了
ttk.Label构造器设置文本属性(text property) - 使用了网格布局管理器(grid layout manager)
- 可以发现窗体突然变小了好多,这是因为我们在窗体中添加了 widget,触发了优化,尽量使用小空间显示 widget(s)。
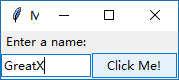
创建按钮并改变其文本属性
这里我们将添加一个 button widget,并使用该按钮(button)改变其他 widget 的属性。我们将学习 Python GUI 的回调函数(callback function)和事件处理机制。
1 | #!/usr/bin/env python3 |
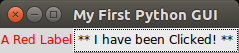
GUIs 是事件驱动的。点击按钮产生一个事件。我们将事件产生时会发生的事与回调函数绑定。通过 ttk.Button widget 的 command 属性调用它,注意调用时不需要圆括号,只需使用名字 click_me。
文本框 Text Box widgets
在 tkinter 中,只有一行的 textbox widget 被称为 Entry。
1 | #!/usr/bin/env python3 |
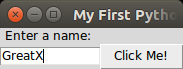
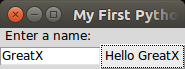
在 tkinter 中,我们需要声明 name 变量为 tk.StringVar()。因为 tkinter 不是 Python。我们只是能够在 Python 中使用它,但它们并不是同种语言。
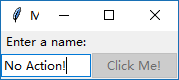
给 widget 设置焦点,禁用 widgets
只需调用 focus() 方法就能给一个 widget 设置焦点。
1 | #!/usr/bin/env python3 |
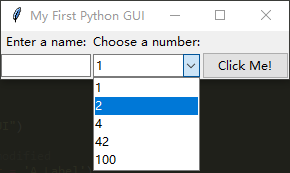
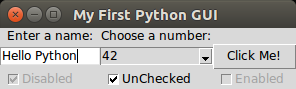
组合框 Combo box widgets
下拉式组合框
1 | #!/usr/bin/env python3 |
如果要限制用户,让他们只能选择程序中给出的选项,则要向构造器中传 Combobox 的 state 属性
1 |
|
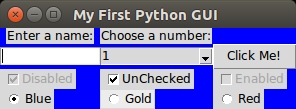
创建具有不同初始状态的复选按钮
Checkbutton widgets
1 | #!/usr/bin/env python3 |
将网格的 sticky 属性设置为 tk.W 意味着该 widget 向网格的西(west)面对齐。
使用单选按钮 radio button widgets
Radiobutton widgets
1 | #!/usr/bin/env python3 |
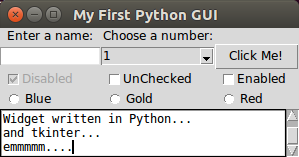
使用滚动文本 scrolled text widgets
ScrolledText 要比简单的 Entry 大得多并且跨越多行。当文本大于 ScrolledText widget 的高度时,将自动启用垂直滚动条。
1 | import tkinter as tk |
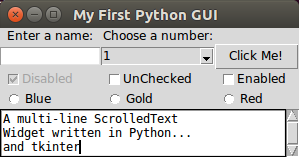
- 通过将 wrap 属性设置为
tk.WORD来告诉ScrolledTextwidget 通过单词来断行。 默认的是tk.CHAR,以字符来断行。 - 对于
ScrolledTextwidget ,将网格的columnspan属性设置为 3,能够让该 widget 横跨 3 列。默认情况下只有 1 列。
重构
可以发现在上面的代码中有很多冗余,这里我们将重构它们。
1 | #!/usr/bin/env python3 |
运行程序会发现和上面的一样,但代码更简洁清晰。
参考文献
- Python GUI Programming Cookbook - Second Edition by Burkhard A. Meier