Python GUI Cookbook —— 布局管理
学习 GUI 布局设计的基本原则,使我们能够创造出精美的图形用户界面。
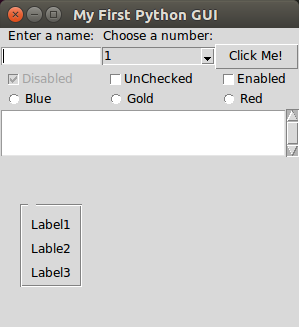
在标签框架中排列多个标签
LabelFrame 可以让我们有组织的的设计 GUI。
1 | [...] |
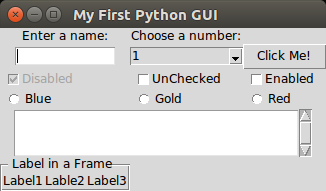
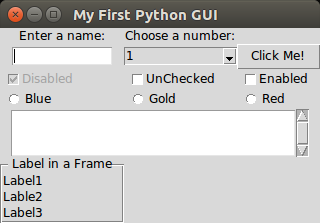
也可以垂直摆放
1 | # Create a container to hold labels |
使用填充增加 widget 周围的空间
tkinter 因 GUI 丑陋而闻名,然而这种情况在版本号 8.5 后发生了巨大的变化。Python 3.6 带有 tkinter 8.6。
给之前的代码添加 padx 和 pady。
1 | [...] |
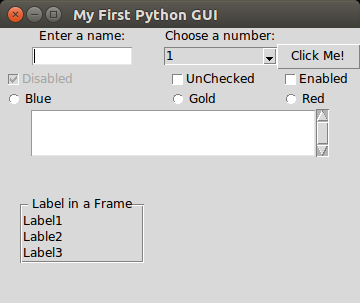
给 LabelFrame 包含的标签添加一些空间
1 | [...] |

grid_configure()可以让我们能够在主循环显示 UI 之前修改它们。所以不必在首次创建 widget 时硬编码这些值。winfo_children()返回 buttons_frame 的子 widgets。
还不知道 labels 右边的空间的大小
1 | [...] |
可以移除 LabelFrme 的名字。看看 padx 的效果
1 | [...] |
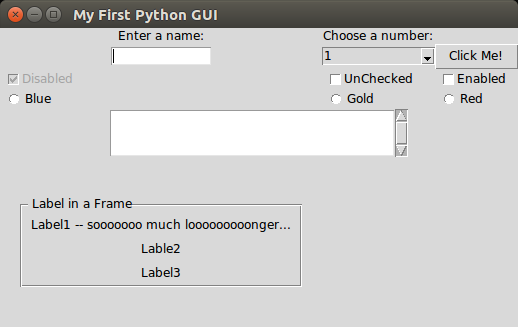
widgets 动态扩展 GUI
你可能已经看到了 widget 能够自动扩展所需空间以便直观地显示文本。
对于网格管理器,其列的宽度取决于该列中最长的名字或 widget。
由于显示
LaqbelFrame标题的文本属性比上面的Enter a name:label 和 textbox entry 都长,所以这两个 widget 都依据新宽度,动态地中心对齐到 column 0。column 0 的
Checkbutton和Radiobutton没有中心对齐,因为使用了sticky=tk.W属性。
通过在框架中放入框架来组织 GUI widgets
这里我们将创建一个顶层框架来包含其他 widget
添加下面的代码到我们的 Python 模块
1 | #!/usr/bin/env python3 |
接下来将 mighty 作为父 widget,替换 window。如下所示:
1 | [...] |
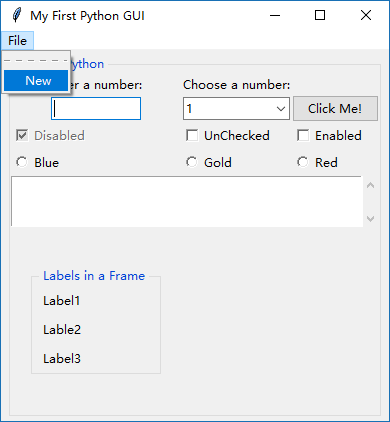
创建菜单栏
首先需要从 tkinter 中导入 Menu 类
1 | #!/usr/bin/env python3 |
添加菜单项
1 | [...] |
如果你对这段代码有一点困惑的话,请不要担心,这仅仅是 tkinter 创建 menubar 的语法,并不很 Pythonic。
添加第二个菜单项
1 | [...] |
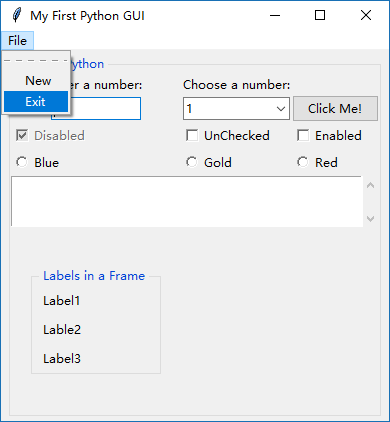
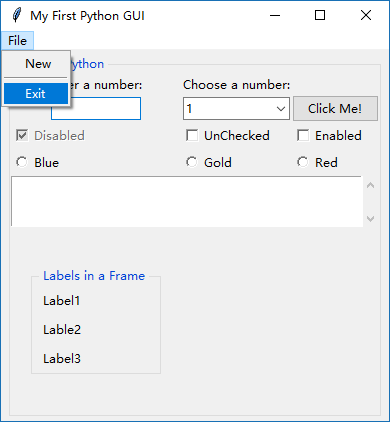
在两个菜单项中间添加分隔线
- 通过传
tearoff属性到菜单的构造器,移除第一个 dashed line - 通过下面代码添加分隔线
1 | [...] |
接下来添加水平的第二个菜单
1 | [...] |
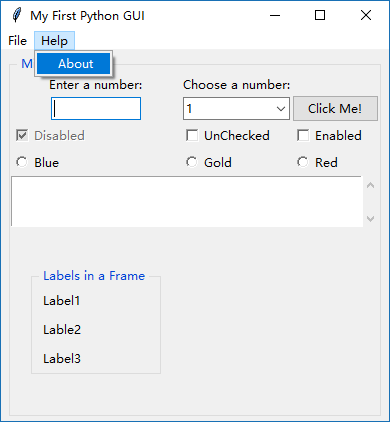
现在,我们的菜单项点击过后还没有反应,因此我们需要添加一些 commands 到菜单项
1 | [...] |
现在当我们点击 Exit,程序就会立刻退出。
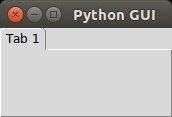
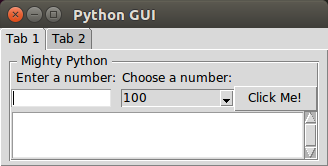
创建选项卡式 widgets
创建一个新的 Python 模块
1 | #!/usr/bin/env python3 |
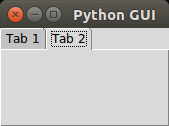
添加第二个 Tab
1 | #!/usr/bin/env python3 |
在 Tab 1 中写一些内容
1 | #!/usr/bin/env python3 |
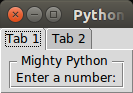
再加一些内容,好看清标题
1 | #!/usr/bin/env python3 |
给 Tab 2 也加上内容
1 | [...] |
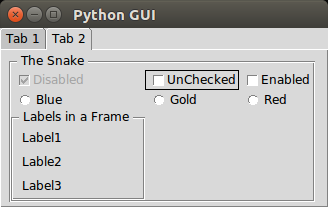
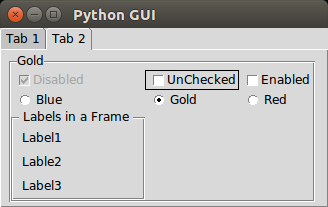
点击 Radiobutton 发现不起作用了,那么我们改变它们的功能
1 | [...] |
使用网格布局管理器
- 如果我们不指明 row 的值,tkinter 会自动完成加 1 操作。
参考文献
- Python GUI Programming Cookbook - Second Edition by Burkhard A. Meier